Showing posts with label crafty. Show all posts

Thursday, December 15, 2011

Martha Month: Five Finger Snowman and My New Man Mac Jr.

My post is very late this week because my computer finally gave up it's last breath after two years of diligent service. I don't blame the old man, his work conditions were less than civilized; loads of overtime, loud work environment that probably made him go deaf far before his time and the disorganized chaos that surrounded him is enough to make anyone loose their mind.  It was time to let the old guy retire. At first I was angry at him, but now Mac's little bro is gracing my presence and oh man, he's hot!  I can definitely say this transition hasn't been the least bit difficult. No hard feelings, rest in peace old man Mac...don't worry about me, Mac Jr. is doin a fine job! 


I have to give a big shout out to my friend Chris who gave new life to my computer! I am so thankful for your awesome geekiness, without it I would still be cursing and crying my way through the work day! Seriously, thank you!


Week two of my "Month of Martha" takes us to these adorable ornaments. Every year we buy the kids an ornament to add to our collection. It was the perfect opportunity to get my crafty pants on and find an ornament we could make and save some money doing it. Though cute, Hallmark ornaments for four kids can break the bank! 


My find and pin from pinterest


                                                                             Source: littlebitfunky.com via Linsey on Pinterest

What you will need:


- glass ornaments (I found these on 1/2 off day at the thrift store. I paid $3.00 for 16 ornaments, score!)
- white craft paint (I already had this, but it's .99 at the craft store)
- paint brush
- sharpie markers 
- egg carton for drying
- ribbon 


Paint the hands.


Place the ornament in the palm of their hand and have them wrap their fingers around it, keeping them spread apart. I helped a little by pressing some fingers. 


Let them dry.


Add all the snowman details, so fun watching them come to life!


Add names and the year.


What I love about this craft is they look cute no matter how perfect or imperfect the 
handprints are. 


I thought I would really get my "Martha" on and take it to the next level with a bow! Oh yeah, in the voice of Gay Focker, "watcha think a that!"


So easy, cheap and adorable! I am going to use the rest of the left over ornaments for Abby's birthday party! I'm really excited about finally being "that" mom that does something cool that makes all the other moms go, "oooo, ahhhh", and it becomes the hot conversation topic at next weeks play date!" 


Pin It!

Thursday, December 8, 2011

A Month of Martha: Ruffle Goodness

I'm no Martha Stewart, but it's fun to pretend sometimes. The sense of accomplishment that you get after creating something is so rewarding. You come up with reasons that allow you to walk by your creation just so you can take another look at what you've done. "I made that? Wow, I did a great job! Oh my goodness I love it!" You're trip from one end of the house to the other takes you longer than normal, just so you can smile as you walk by the cuteness.

We all know everyone's recent addiction to Pinterest; I am no exception. I get on there and I am exploding with creativity...while I'm sitting on my butt starring at the screen for hours on end. It's like a really good book, one where you become the main character of the story.

I sit down, flip open the thriller and instantly get sucked in. I can't put it down, it's just too good. In this story I become Martha Stewart. The possibilities become endless and I become the mastermind behind it all. The problem with that is the minute you close the book, you are back to reality. When will I have time to create that? That would just cost to much money? There just aren't enough hours in the day. All those wonderful projects that had me bursting with ideas now get put on the back burner...forever. I walk away from the computer and I am no longer Martha, she only resides in my fantasies. Oops, strike that, that came out wrong. She only resides in my dreams? No. She only resides in my story? Whatever...you get the point.

I have decided to make December a "Month of Martha." A cheaper, less-meticulous, less-complicated, more of a copy-cat style of Martha...Martha, on a shoe-string budget. 

First up:

A gorgeous ruffled tree skirt!!

I love ruffles...always have!


Ruffled shirt and ruffled bangs, wowzers!

Ruffles weren't really in style after the sixth grade, so I had to layoff of them for awhile. I am so glad they're back!

My pin from Pinterest


Here is what I did
Items I used:
- painters canvas drop cloth, the one closest in size to 4 1/2 by 4 1/2 (purchased at Home Depot 7.99)

- 4 yards of fabric ... to save some money I used a cotton fabric. Actually a king size flat sheet from the thrift store (1.00)

- I also used a shiny curtain panel (i know there is probably a correct term to describe this type of fabric, anyone?) to add some bling between the layers of cotton, again, from the thrift store (.50)

- hot glue gun and glue sticks (about 5.00 worth of glue)

- fabric scissors

I also purchased some ribbon to tie the slit together with some cute bows. But, it's not necessary. I like the way it looks all gathered up under the tree and found I didn't really need to tie it off, but of course you could. I was picturing three bows down the length of the slit. Does sound cute doesn't it? Okay, maybe I will add the bows when all said and done!

Total cost so far: $14.49

I'm going to say that the final cost will be about $18.00, I still want to purchase some more sheer fabric to finish between the layers, I ran out.


First thing you need to do is make your drop cloth a 4 1/2' square.


Fold it over two times making a smaller square,


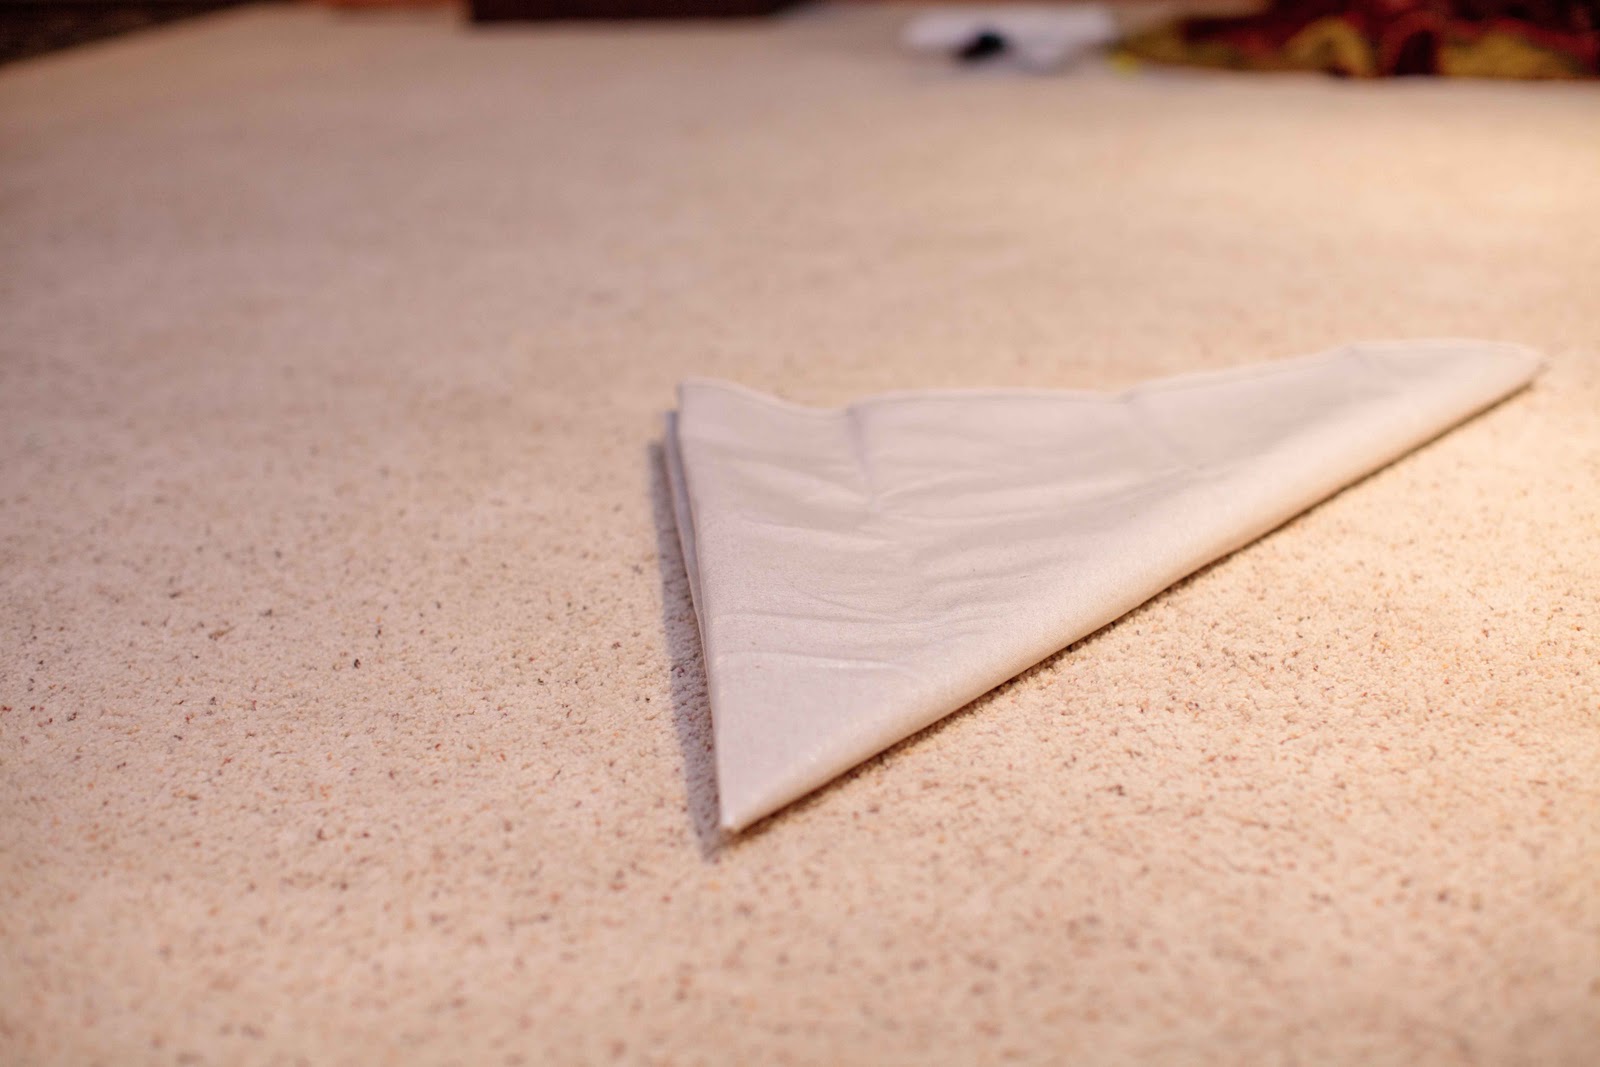
then into a triangle.


Cut off the bottom and top,


making a big donut.


Make a slit.


Then when you realize you've cut the center hole way to big, you will need to do a little damage control,


by glueing back on some of the canvas. It will all be covered by gorgeous ruffles, so no worries!


Take your fabric and cut 2'' strips. I started off by being meticulous with this, but then just started eyeballing it. This type of project is very forgiving!


Then just start creating ruffles by laying down a stip of hot clue and pinching the fabric into it. You will start to get a rhythm.


This is the curtain panel that I used. I just cut out the shiny strips and put them between the cotton layers.


I really love what this does for the skirt, gives it a more chic look! It's also off-white in color so it balances out all the white.


Even though it's not finished yet, you get the idea. Just picture the bottom portion all the way up!


Isn't she gorgeous, I love her! I'm hoping to make a trip to the fabric store this weekend so I can get this lady finished!

I'd love to hear about any projects you've accomplished lately? 

Pin It!

Thursday, February 10, 2011

Earring Dilemma Fixed

I am not sure why some projects get done right away and why with some, I procrastinate horribly. I have had this incredibly easy, fun, super-cute idea for months. All the necessary supplies were purchased. Then for some reason, the fifteen minutes it was going to take me to assemble it, I guess became intimidating. I have just let it sit there. Sad. Lonely. Un-loved.

Well, the pressure of blogging about it drove me to complete it. It literally took me fifteen minutes. Why the heck did I wait so long?


Do you need a cute place to organize and display your earrings? I did.

This is what I have been looking at for months. Instead of being an earring holder, it became a convenient place to drape my necklaces. Look, I didn't even take the time to cut off the price tag. Pathetic.


What you will need for this project.

A cute frame without any glass or backing.


An easel of some-type to prop the frame on when complete.


Some screen. It comes in a huge roll, so you will have plenty left over to re-screen a door or some windows. Or, maybe you have an obscene amount of earrings and will need to make a very large one!


A hot glue gun and scissors. The sharpie was to cover up some scratches that were on the frame.


I used an old 8x10 picture to measure the piece of screen I would need. My beautiful baby girls, how time flies.


I gave myself some breathing room and cut it with a little overhang. You can always go back and trim it.


Test out the fit. Make any trimming adjustments.


Using your preheated glue gun, start gluing right on top of your screen. The glue will seep down into the screen securing it to the frame.


I of course felt the need to apply a few coats of glue. You know, make it strong enough so Matty can dangle from it if he feels the need. Really, one coat would do fine. My OCD skills are not necessary for this to turn out successfully.


If your like me and you get sort of sloppy with the glue gun, no worries. That is the beauty of hot glue, it peels right off.


So that's it, all done. Ready to display and organize all your beautiful earrings. So easy and it only took me two months to complete!


My house is one that may look clean, but if you open up any drawer or cabinet you will see the reality. Out of site out of mind, is typically my motto. I love things to be in there place and organized, but more often than not whatever is on-top of the counter is getting swooped into the closest drawer. Especially if someone is on there way over and I haven't had time to pick-up!

I can't even believe I let my makeup drawer get this bad. Embarrassing.


All my horribly unorganized earrings.


Now my drawer looks like this. Gorgeous. Makes me so happy.

I did a little dance.


I guess there is some reward in not being 100% organized and tidy. Taking something from a messy, disorganized disaster and making it beautiful is so much fun!

I did a post on
revamping my bathroom awhile back, but it wasn't completely done. I didn't like the mirror I had, it was temporary until I could find a great deal on a larger one. I found this one at Hobby Lobby, it had some chips in it so I got it for 66% off. I love looking for damaged things and asking a manager if they can give me a discount. A little sharpie action and it's all good! Also, Erik finally installed my vanity light for me. So pretty!


What to do with the last blank wall? I could of left it alone. Nah, it needed some love. A clock! Don't you think every bathroom needs a clock to ensure punctuality? I do. And why not go big!


Now, it still needs batteries. So, it's not actually serving it's purpose at the moment. Helping me with my loosing battle of getting the girls to the bus on time. But, it looks cute and that's the main point! It might take me another two months to get those batteries installed, but it will happen. Patience.

BTW: Erik thinks the oversized clock looks ridiculously stupid in a bathroom. Sorry babe.

I would like to say that the bathroom is finished. But, there is one last unfinished project that needs to get done. This one requires Erik's skills, so that probably means it will go unfinished for sometime. He works all day with tools, so using them again when he gets home is not on the top of his list. But, here is what will be, one day.

I purchased these adorable knobs.


The idea is to hang my necklaces from them. Someday.


Pin It!

Wednesday, July 21, 2010

Summer Swap Party Success

The very first ever swap party was a hit!!! I was so excited about putting this together, but really had no idea how much fun it was going to be!

I was totally unprepared, I didn't even start researching swap parties until a few days before. My mom had given me the gist on how they work, but I had not done anything. This is so unlike me, I usually have everything prepared and ready weeks before an event. I actually didn't even think along the lines of a theme, but then found this great video online about swap parties and it made me rethink my plan of attack. The lady on the video went all out, had a theme, decorations, shopping bags, the whole shebang!! I couldn't host a swap party that wasn't up to par, I had to get my thinking cap on and get busy!!! So after the theme of "Summer Swap" came to mind, it all just started to come together.

The party was on Thursday, so Tuesday morning I drove to Denver and did all the shopping!! While the three older kids enjoyed their morning at VBS, the little guy and I attacked our long shopping list. We went to five stores and got everything we needed and more. It's amazing how much you can get done when you only have to load and unload one kid!!

It really is the perfect time of year to put on a summer time themed party, everything is super cheap and on clearance!!


I got these bags at Target and made the little name tags that are attached. These were the bags that the ladies could attach their shopping clips too so they didn't have hold them.


These were the shopping clips! I got them five for $1.00, at the dollar store. I attached little tags that each lady could put their initials on. The little flip flops I found at Joann's, I just love them, they really made the clips cute. Yes I did tie each one of these clips. To make it easy I tied 10, 10 different times, to equal 100. But I should of done more, because we ran out!


I got the buckets and towels at target for $2.50, and the pairs of flip flops were a $1.00 each.


The table skirts were only $5.00, 75% off at Joann's, so cute!


These margarita glasses were from the dollar store, and of course you have to have little umbrellas at a summer swap party!! If you are wondering were to find drink umbrellas, they are next to the toothpicks down the paper goods isle at Target, it took me awhile to find them!!


Each lady brought a delicious dish to share. I just love when we girls get together, everyone knows how to cook and there is always so much yummy food!!! These were the little name tags that labeled each dish!! It was a beautiful evening and we enjoyed dinner on the deck!


So if you are confused, here is how the party went. Everyone brought their items, up to ten. The items had to be in great condition, and had to be good stuff, something you yourself would want to take home, but it could be anything. There were little post cards that you could use to describe your item and give it a selling point. The card sat in front of the bag that went to that item. As the night went on, you could shop and attach your clip to that bag that went with the item you wanted. If more than one lady wanted one item, then the names went in the bag and we did a drawing for the winner. Many items were fought over, that's what makes it fun!! Then if your name was in the drawing and you didn't win, you could shop again for something different!!


After seeing these cuties, don't you want to have your own swap party? Here are my new shoes, my favorite win of the night. I can't wait to wear them!!!


I really am upset that I didn't take more pictures, I was just having so much fun, I forgot!!


The only reason this party was such a success and so much fun was because of all these wonderful ladies, love them!!!!

I am already starting to plan and think of a theme for next years swap party, can't wait!!!


Pin It!